> ## Documentation Index
> Fetch the complete documentation index at: https://docs.lumenfall.ai/llms.txt
> Use this file to discover all available pages before exploring further.
# Open WebUI
> Use Lumenfall for image generation in Open WebUI
[Open WebUI](https://openwebui.com) is a self-hosted AI interface that supports image generation through OpenAI-compatible APIs. Since Lumenfall implements the OpenAI API specification, you can use it as a drop-in image generation backend for Open WebUI.
Once configured, users can generate images directly in their chat conversations - either by toggling image generation mode or through native function calling if supported by their language model.
## Prerequisites
* A running [Open WebUI](https://docs.openwebui.com) instance
* Admin access to Open WebUI
* A Lumenfall API key ([get one here](https://lumenfall.ai/app/api_keys))
## Setup
### 1. Open the image settings
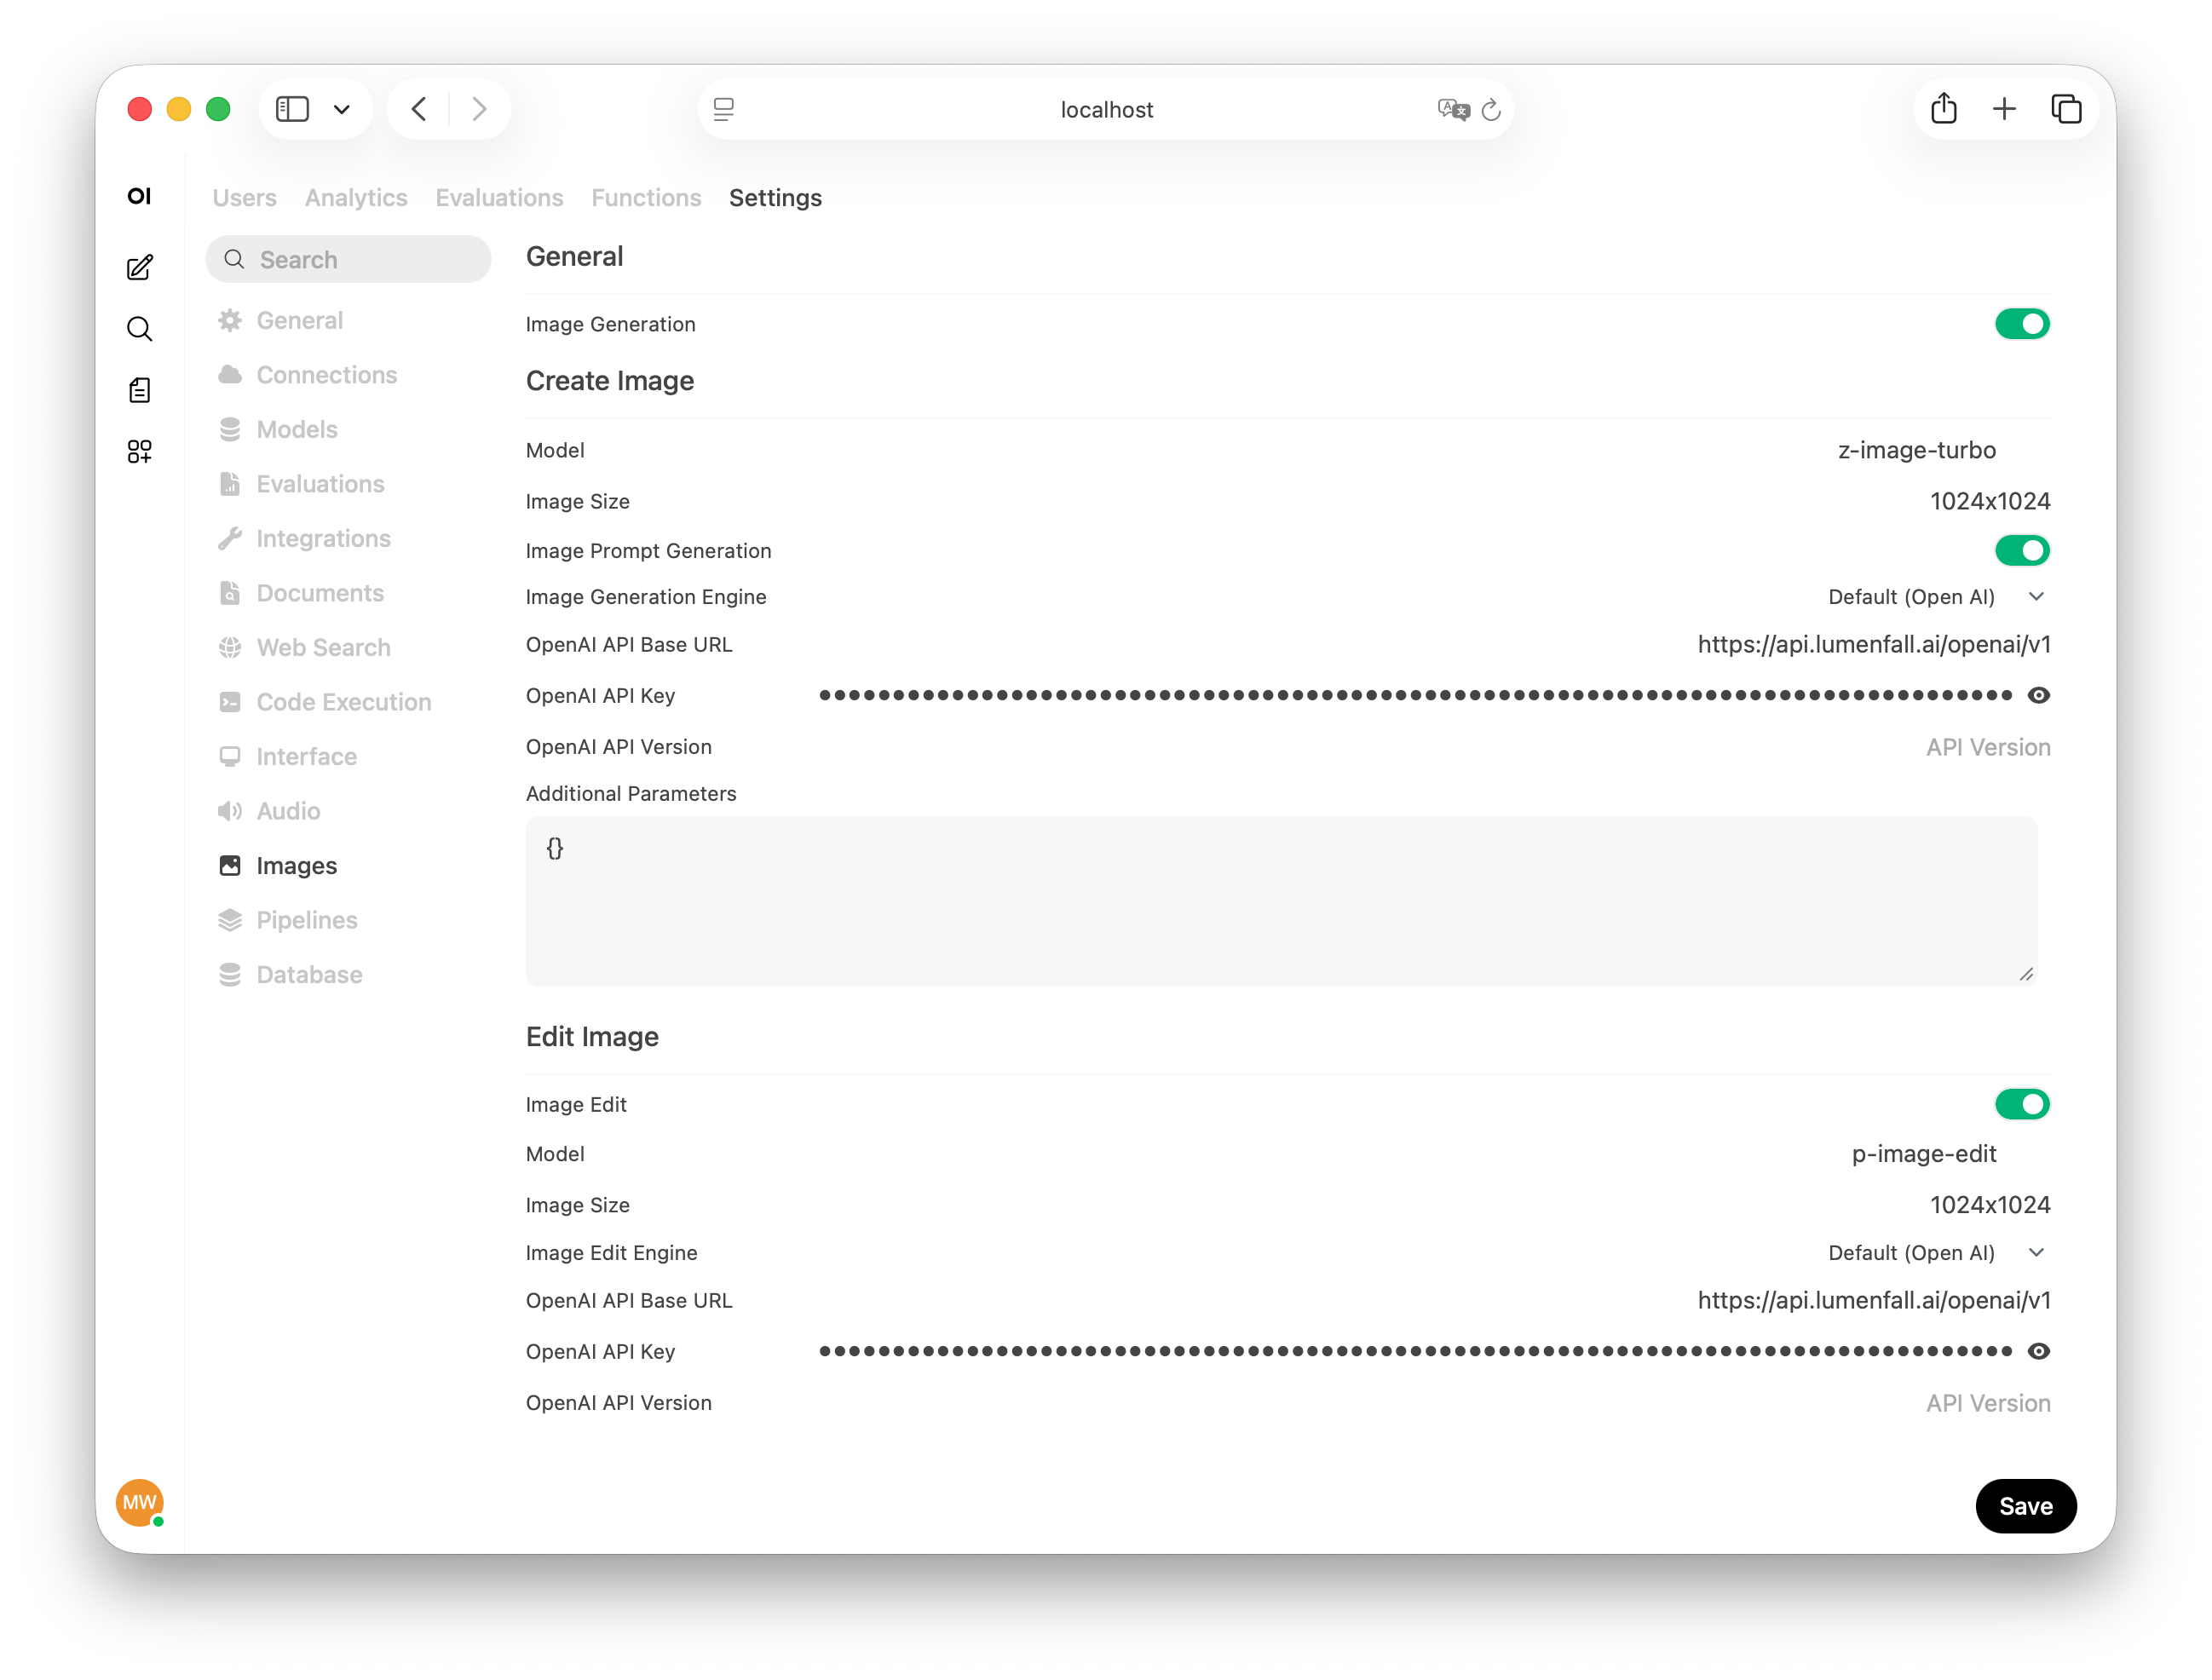
In Open WebUI, navigate to **Admin Panel > Settings > Images**.
### 2. Enable image generation
Toggle **Image Generation** to on.
### 3. Configure the engine
Set the **Image Generation Engine** dropdown to **Default (Open AI)**.
### 4. Set the API base URL
In the **API Base URL** field, enter:
```
https://api.lumenfall.ai/openai/v1
```
### 5. Enter your API key
Paste your Lumenfall API key in the **API Key** field.
### 6. Leave API version blank
The **API Version** field is for Azure OpenAI only. Leave it empty.
### 7. Select a model
In the **Model** field, enter the model you want to use. For example:
* `gemini-3-pro-image`
* `gpt-image-1.5`
* `flux.2-max`
See the full list of available models in the [model catalog](https://lumenfall.ai/models).
### 8. Set the image size
In the **Image Size** field, enter the desired dimensions. For example:
* `1024x1024`
* `1536x1024`
* `1024x1536`
Supported sizes depend on the model. See the [API Reference](/api-reference/images/generate) for model-specific size options. If you're unsure, `1024x1024` works with most models.
### 9. Save
Click **Save** at the bottom of the page.
 ## Generating images
Once configured, there are two ways to generate images in Open WebUI:
### Image generation mode
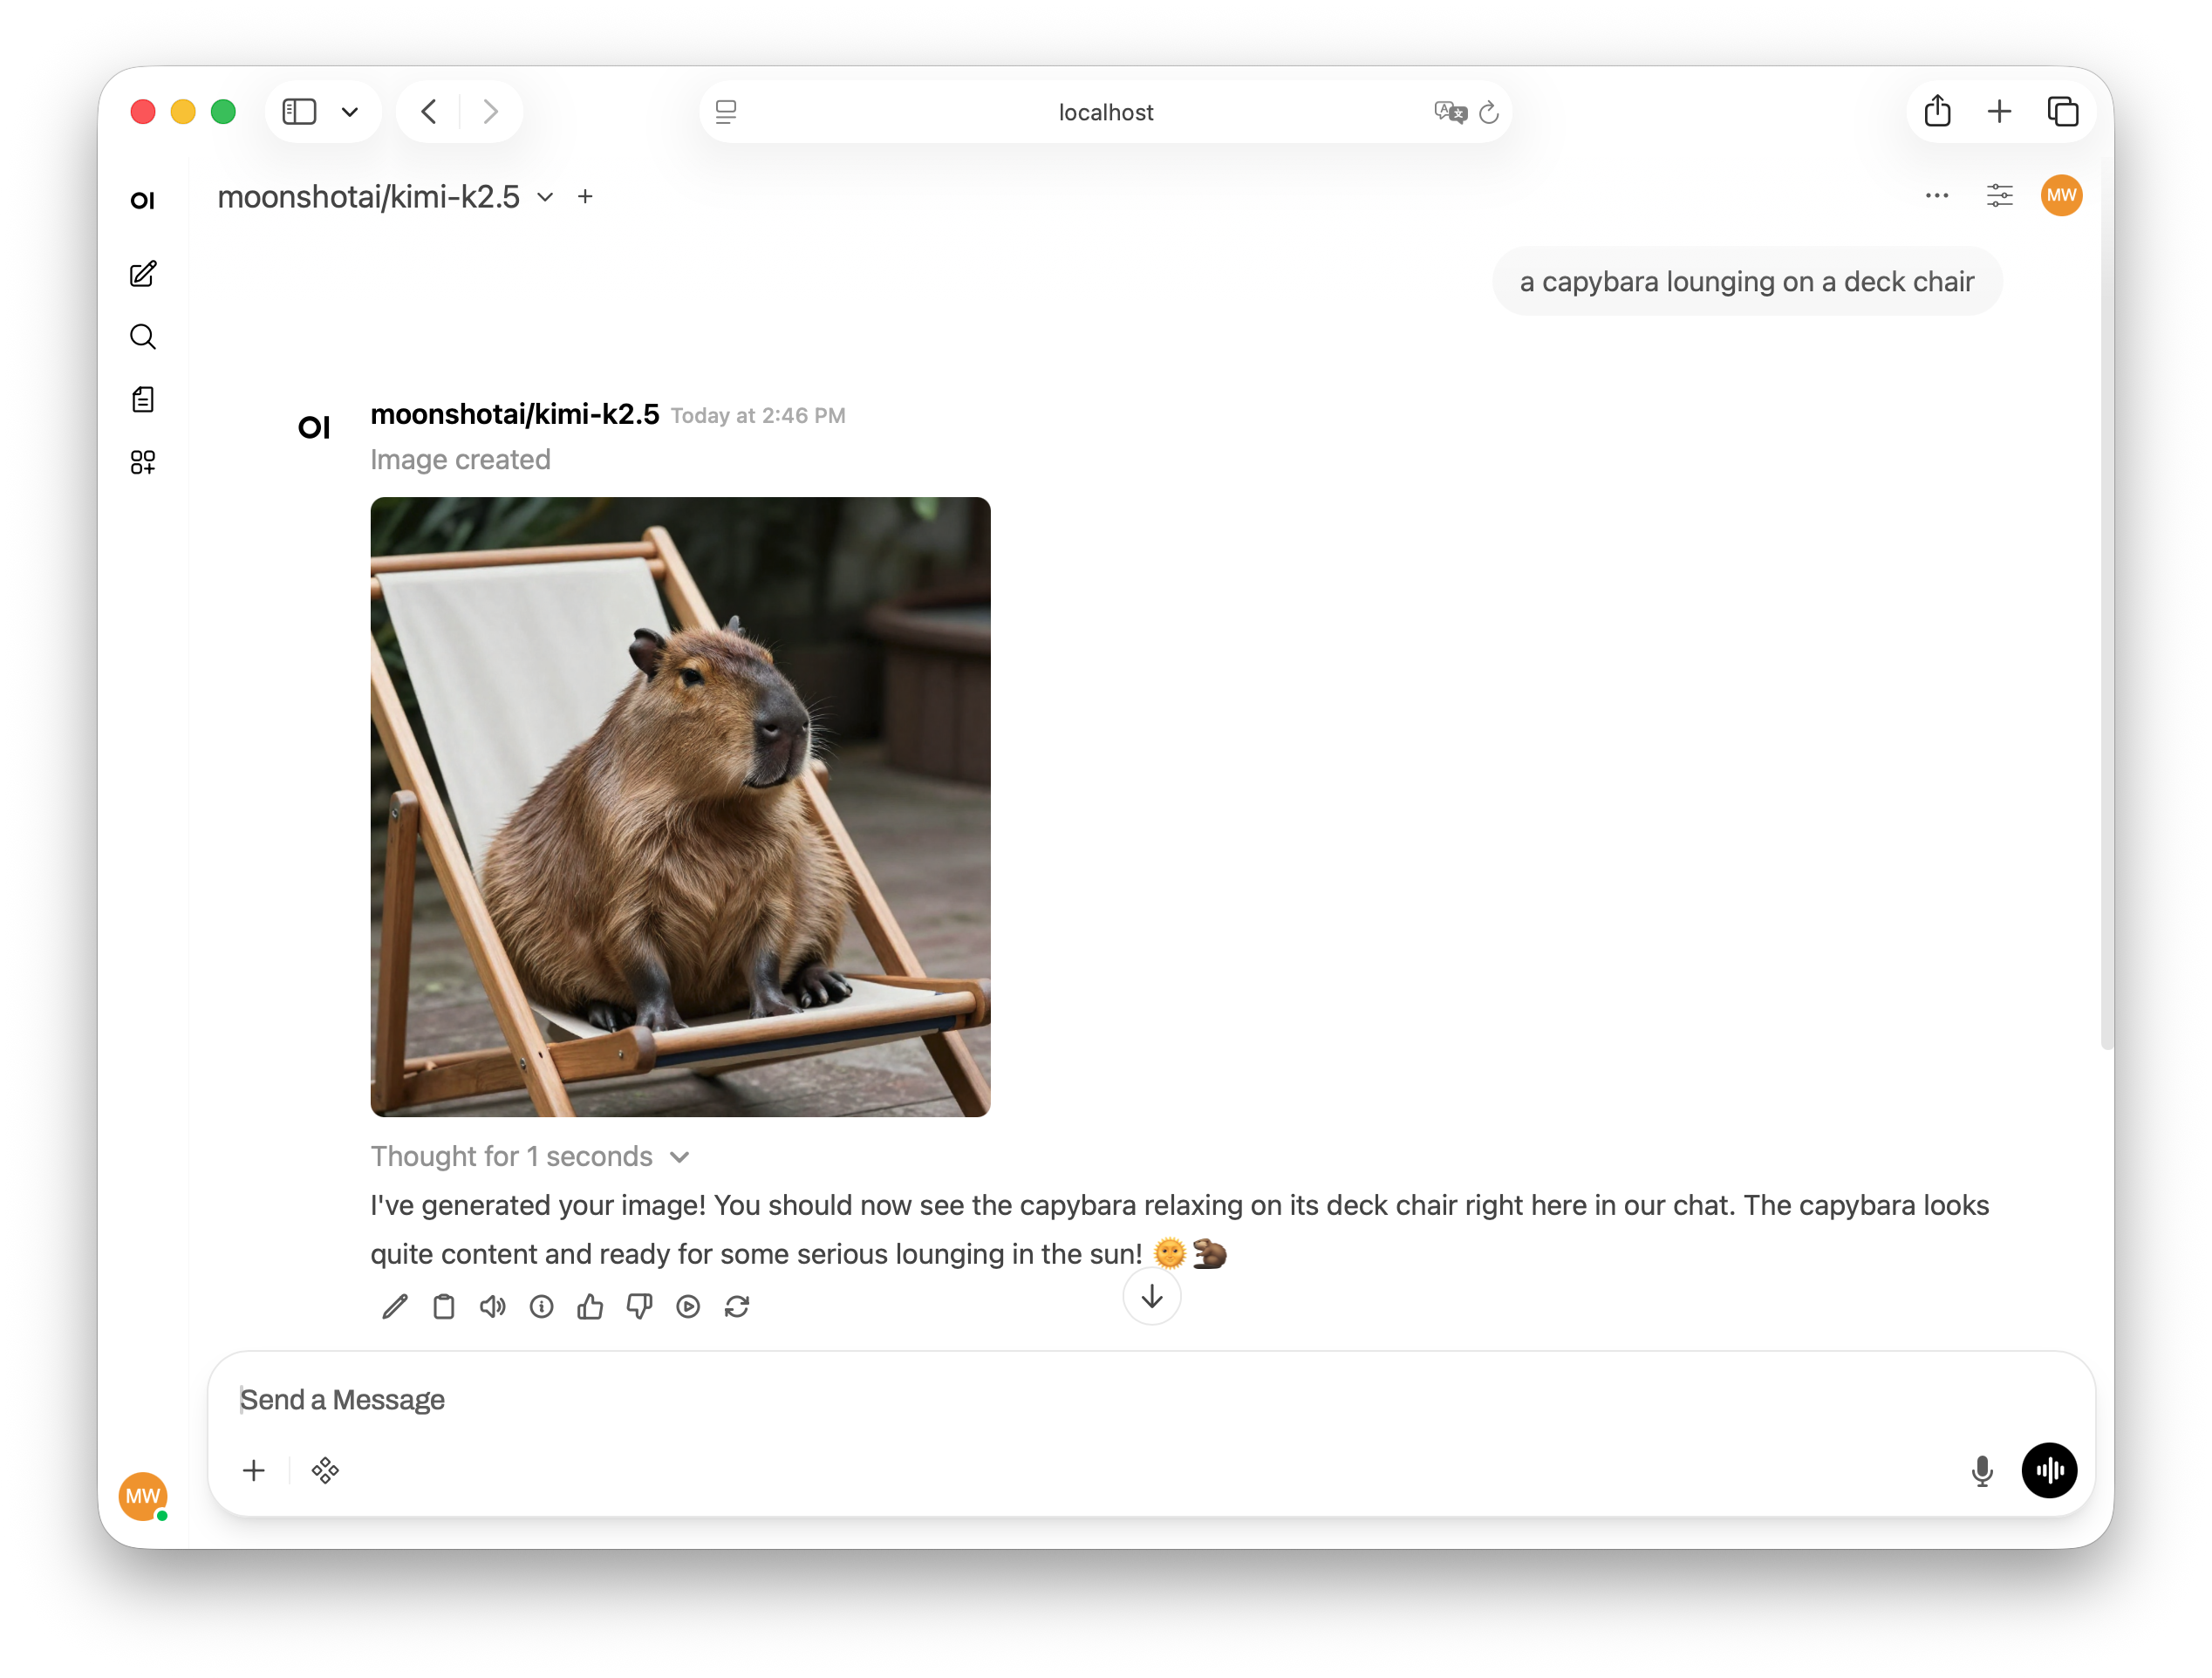
Toggle the **Image Generation** switch in the chat input area, type your prompt, and send. The generated image appears directly in the chat.
### Native function calling
If your language model supports native function calling, you can simply ask it to generate an image in natural language - for example, "Generate an image of a capybara relaxing in a hot spring." The model will invoke the image generation tool automatically.
## Generating images
Once configured, there are two ways to generate images in Open WebUI:
### Image generation mode
Toggle the **Image Generation** switch in the chat input area, type your prompt, and send. The generated image appears directly in the chat.
### Native function calling
If your language model supports native function calling, you can simply ask it to generate an image in natural language - for example, "Generate an image of a capybara relaxing in a hot spring." The model will invoke the image generation tool automatically.
 ## Image editing
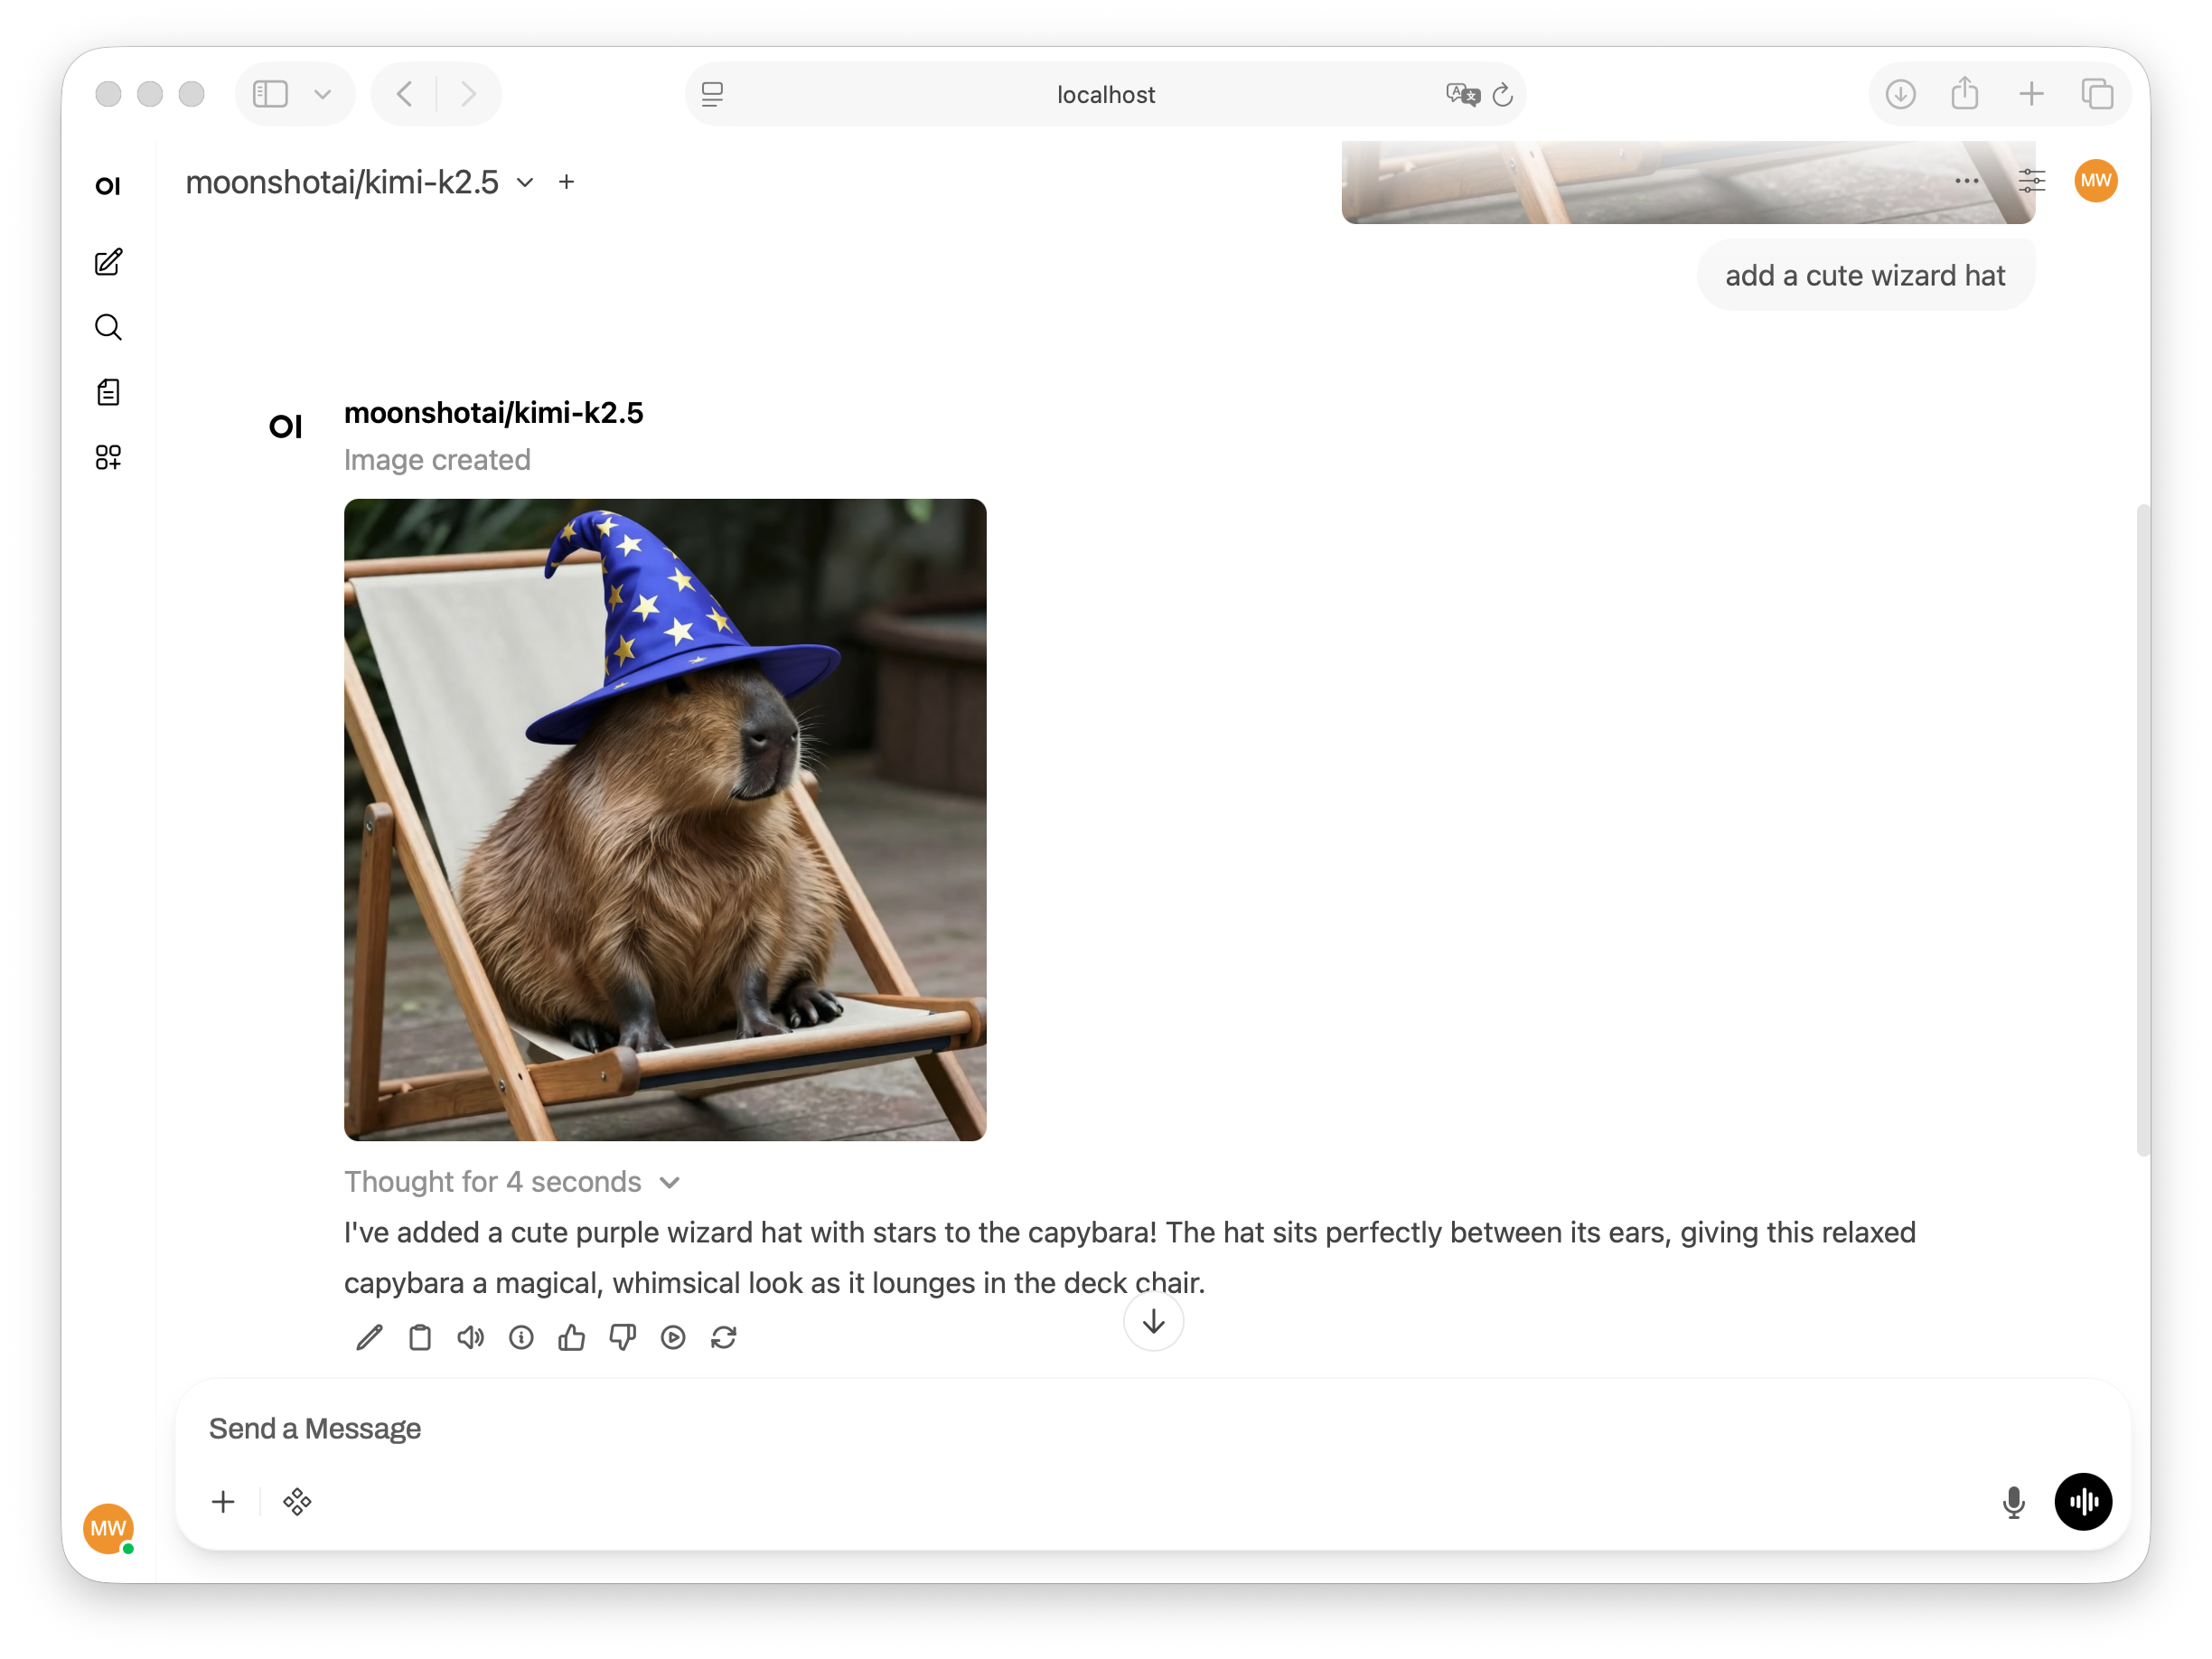
Open WebUI also supports image editing. To use Lumenfall for image editing:
1. In the same **Admin Panel > Settings > Images** page, scroll to the **Edit Image** section
2. Toggle **Image Edit** to on
3. Set the **Image Edit Engine** to **Default (Open AI)**
4. Enter the same API base URL: `https://api.lumenfall.ai/openai/v1`
5. Enter your Lumenfall API key
6. Choose a model that supports editing (e.g. `gpt-image-1.5`)
7. Click **Save**
## Image editing
Open WebUI also supports image editing. To use Lumenfall for image editing:
1. In the same **Admin Panel > Settings > Images** page, scroll to the **Edit Image** section
2. Toggle **Image Edit** to on
3. Set the **Image Edit Engine** to **Default (Open AI)**
4. Enter the same API base URL: `https://api.lumenfall.ai/openai/v1`
5. Enter your Lumenfall API key
6. Choose a model that supports editing (e.g. `gpt-image-1.5`)
7. Click **Save**
 ## Environment variables
You can also configure Lumenfall as the image generation backend using environment variables when deploying Open WebUI:
```bash theme={null}
ENABLE_IMAGE_GENERATION=true
IMAGE_GENERATION_ENGINE=openai
IMAGES_OPENAI_API_BASE_URL=https://api.lumenfall.ai/openai/v1
IMAGES_OPENAI_API_KEY=lmnfl_your_api_key
IMAGE_GENERATION_MODEL=gemini-3-pro-image
IMAGE_SIZE=1024x1024
```
## Next steps
Explore all available image generation models.
Explore the full API documentation.
## Environment variables
You can also configure Lumenfall as the image generation backend using environment variables when deploying Open WebUI:
```bash theme={null}
ENABLE_IMAGE_GENERATION=true
IMAGE_GENERATION_ENGINE=openai
IMAGES_OPENAI_API_BASE_URL=https://api.lumenfall.ai/openai/v1
IMAGES_OPENAI_API_KEY=lmnfl_your_api_key
IMAGE_GENERATION_MODEL=gemini-3-pro-image
IMAGE_SIZE=1024x1024
```
## Next steps
Explore all available image generation models.
Explore the full API documentation.