Prerequisites
- A running Open WebUI instance
- Admin access to Open WebUI
- A Lumenfall API key (get one here)
Setup
1. Open the image settings
In Open WebUI, navigate to Admin Panel > Settings > Images.2. Enable image generation
Toggle Image Generation to on.3. Configure the engine
Set the Image Generation Engine dropdown to Default (Open AI).4. Set the API base URL
In the API Base URL field, enter:5. Enter your API key
Paste your Lumenfall API key in the API Key field.6. Leave API version blank
The API Version field is for Azure OpenAI only. Leave it empty.7. Select a model
In the Model field, enter the model you want to use. For example:gemini-3-pro-imagegpt-image-1.5flux.2-max
8. Set the image size
In the Image Size field, enter the desired dimensions. For example:1024x10241536x10241024x1536
Supported sizes depend on the model. See the API Reference for model-specific size options. If you’re unsure,
1024x1024 works with most models.9. Save
Click Save at the bottom of the page.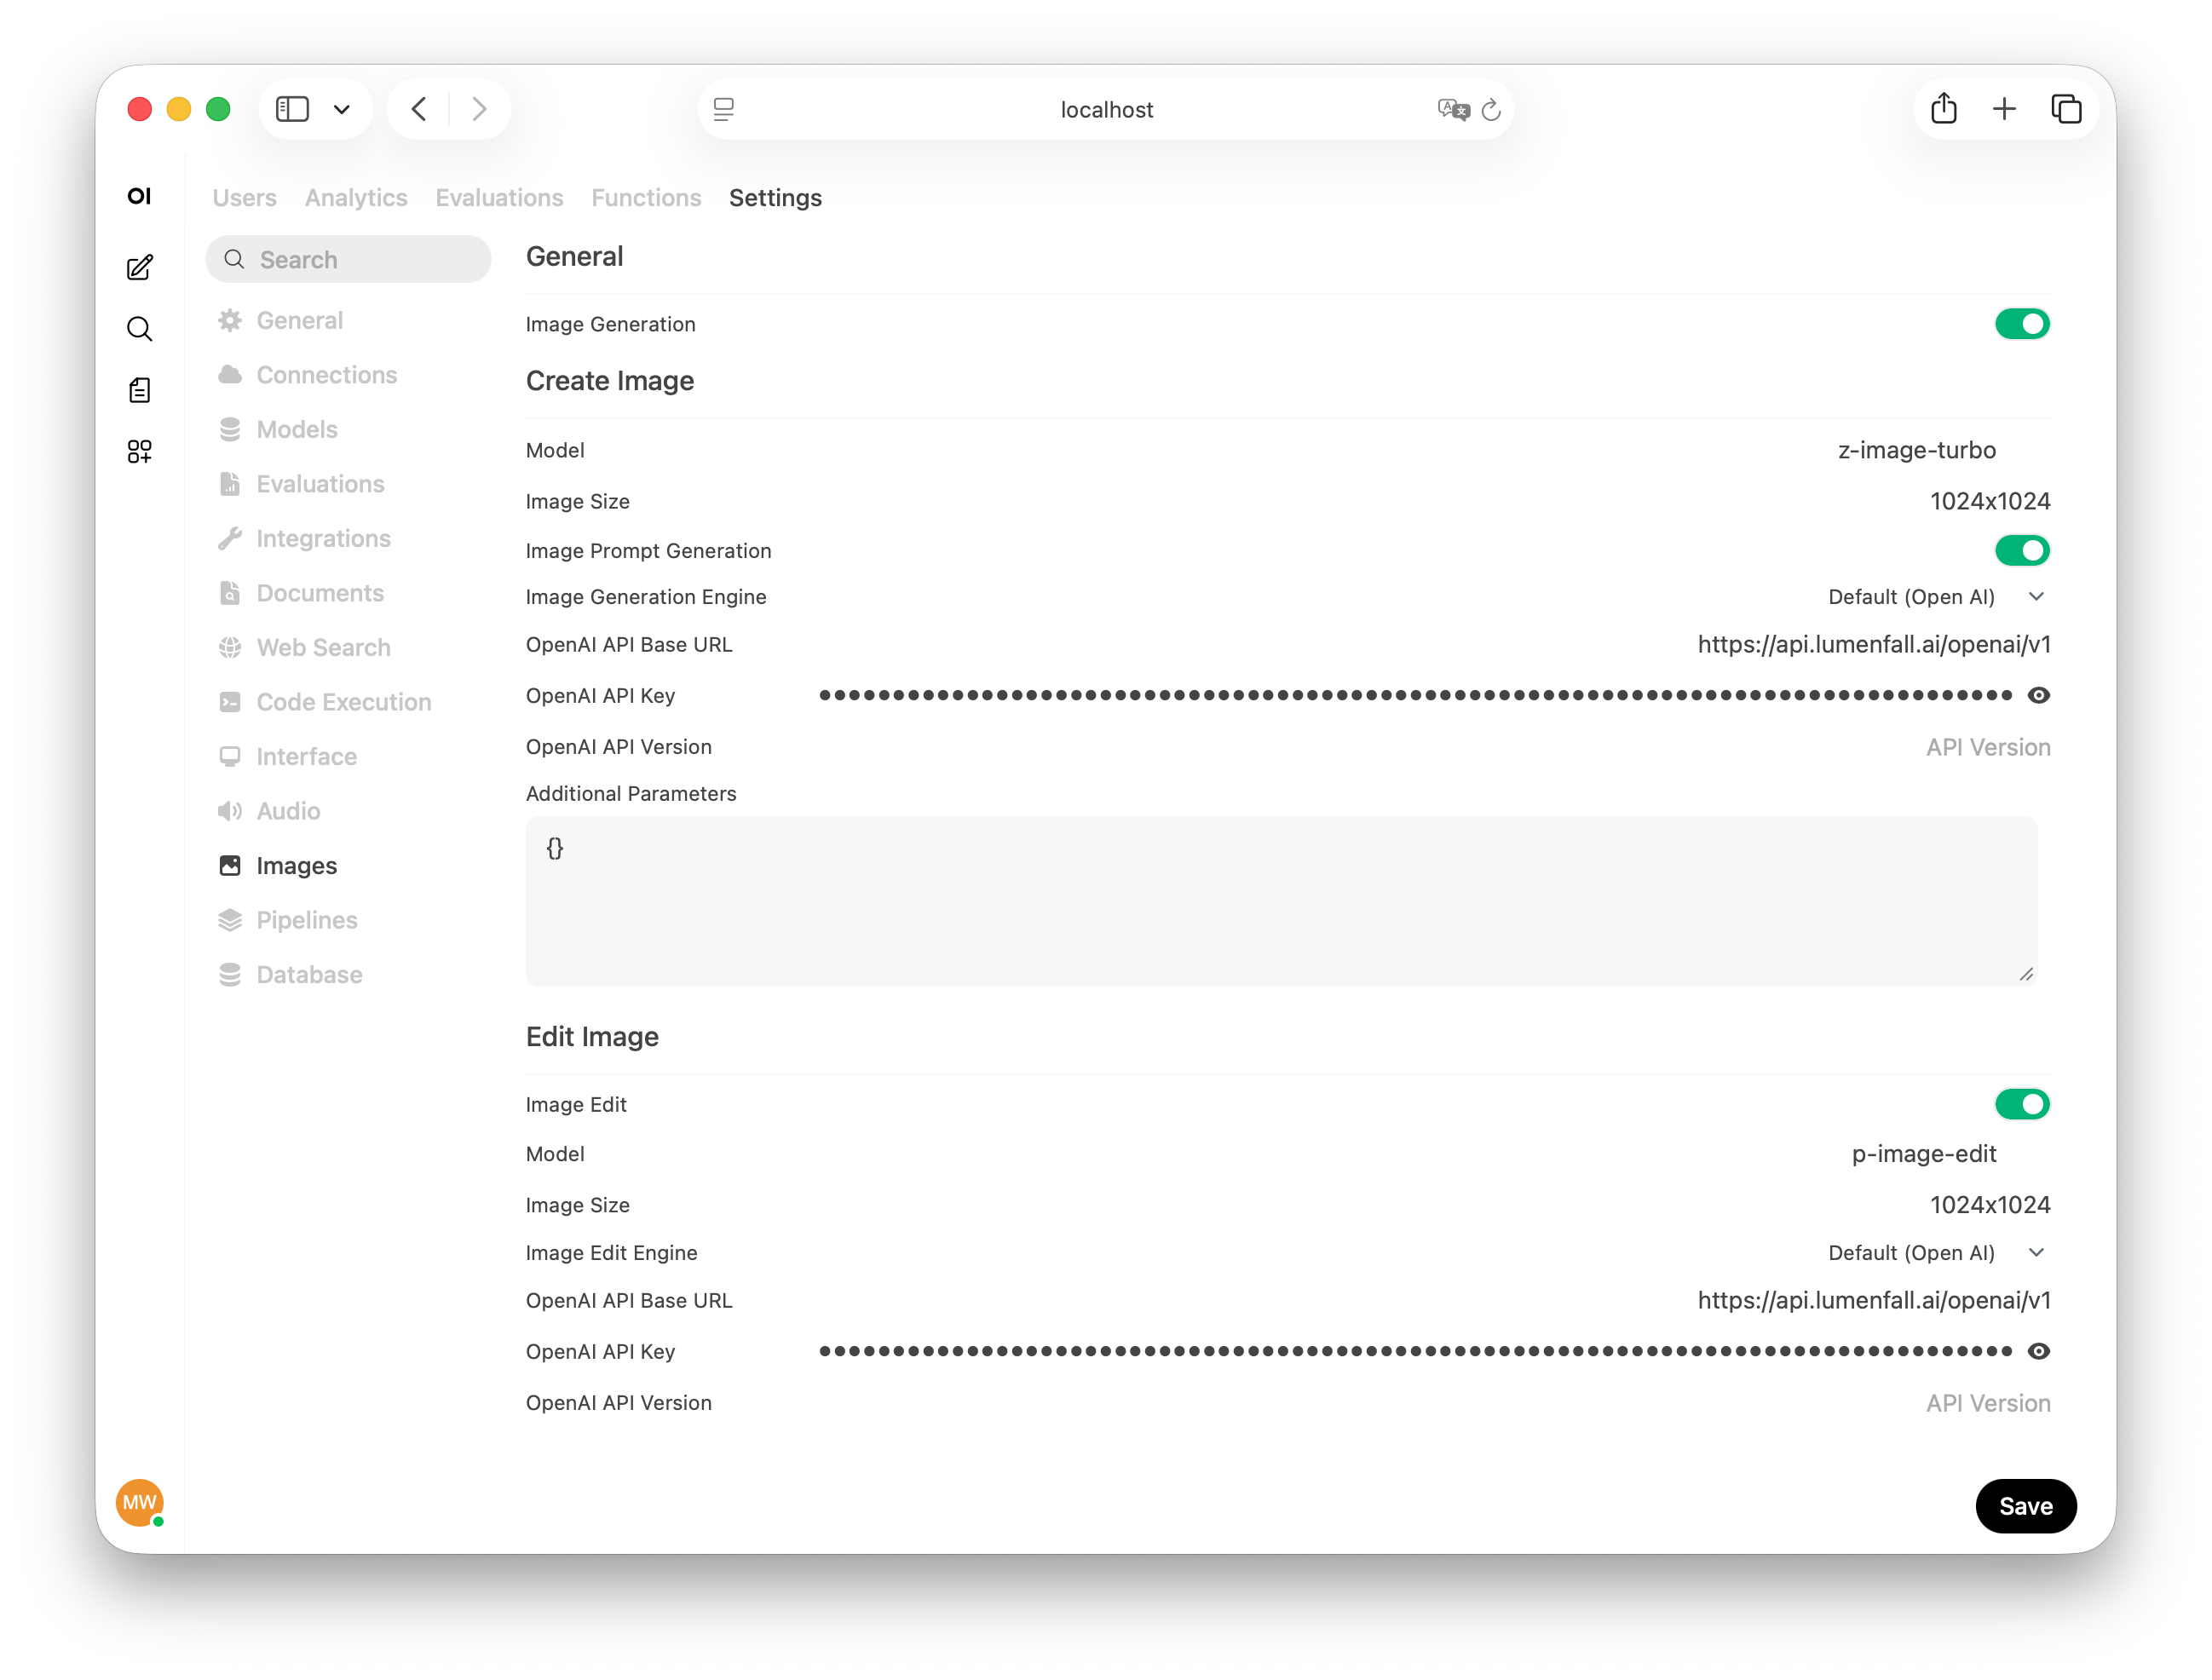
Generating images
Once configured, there are two ways to generate images in Open WebUI:Image generation mode
Toggle the Image Generation switch in the chat input area, type your prompt, and send. The generated image appears directly in the chat.Native function calling
If your language model supports native function calling, you can simply ask it to generate an image in natural language - for example, “Generate an image of a capybara relaxing in a hot spring.” The model will invoke the image generation tool automatically.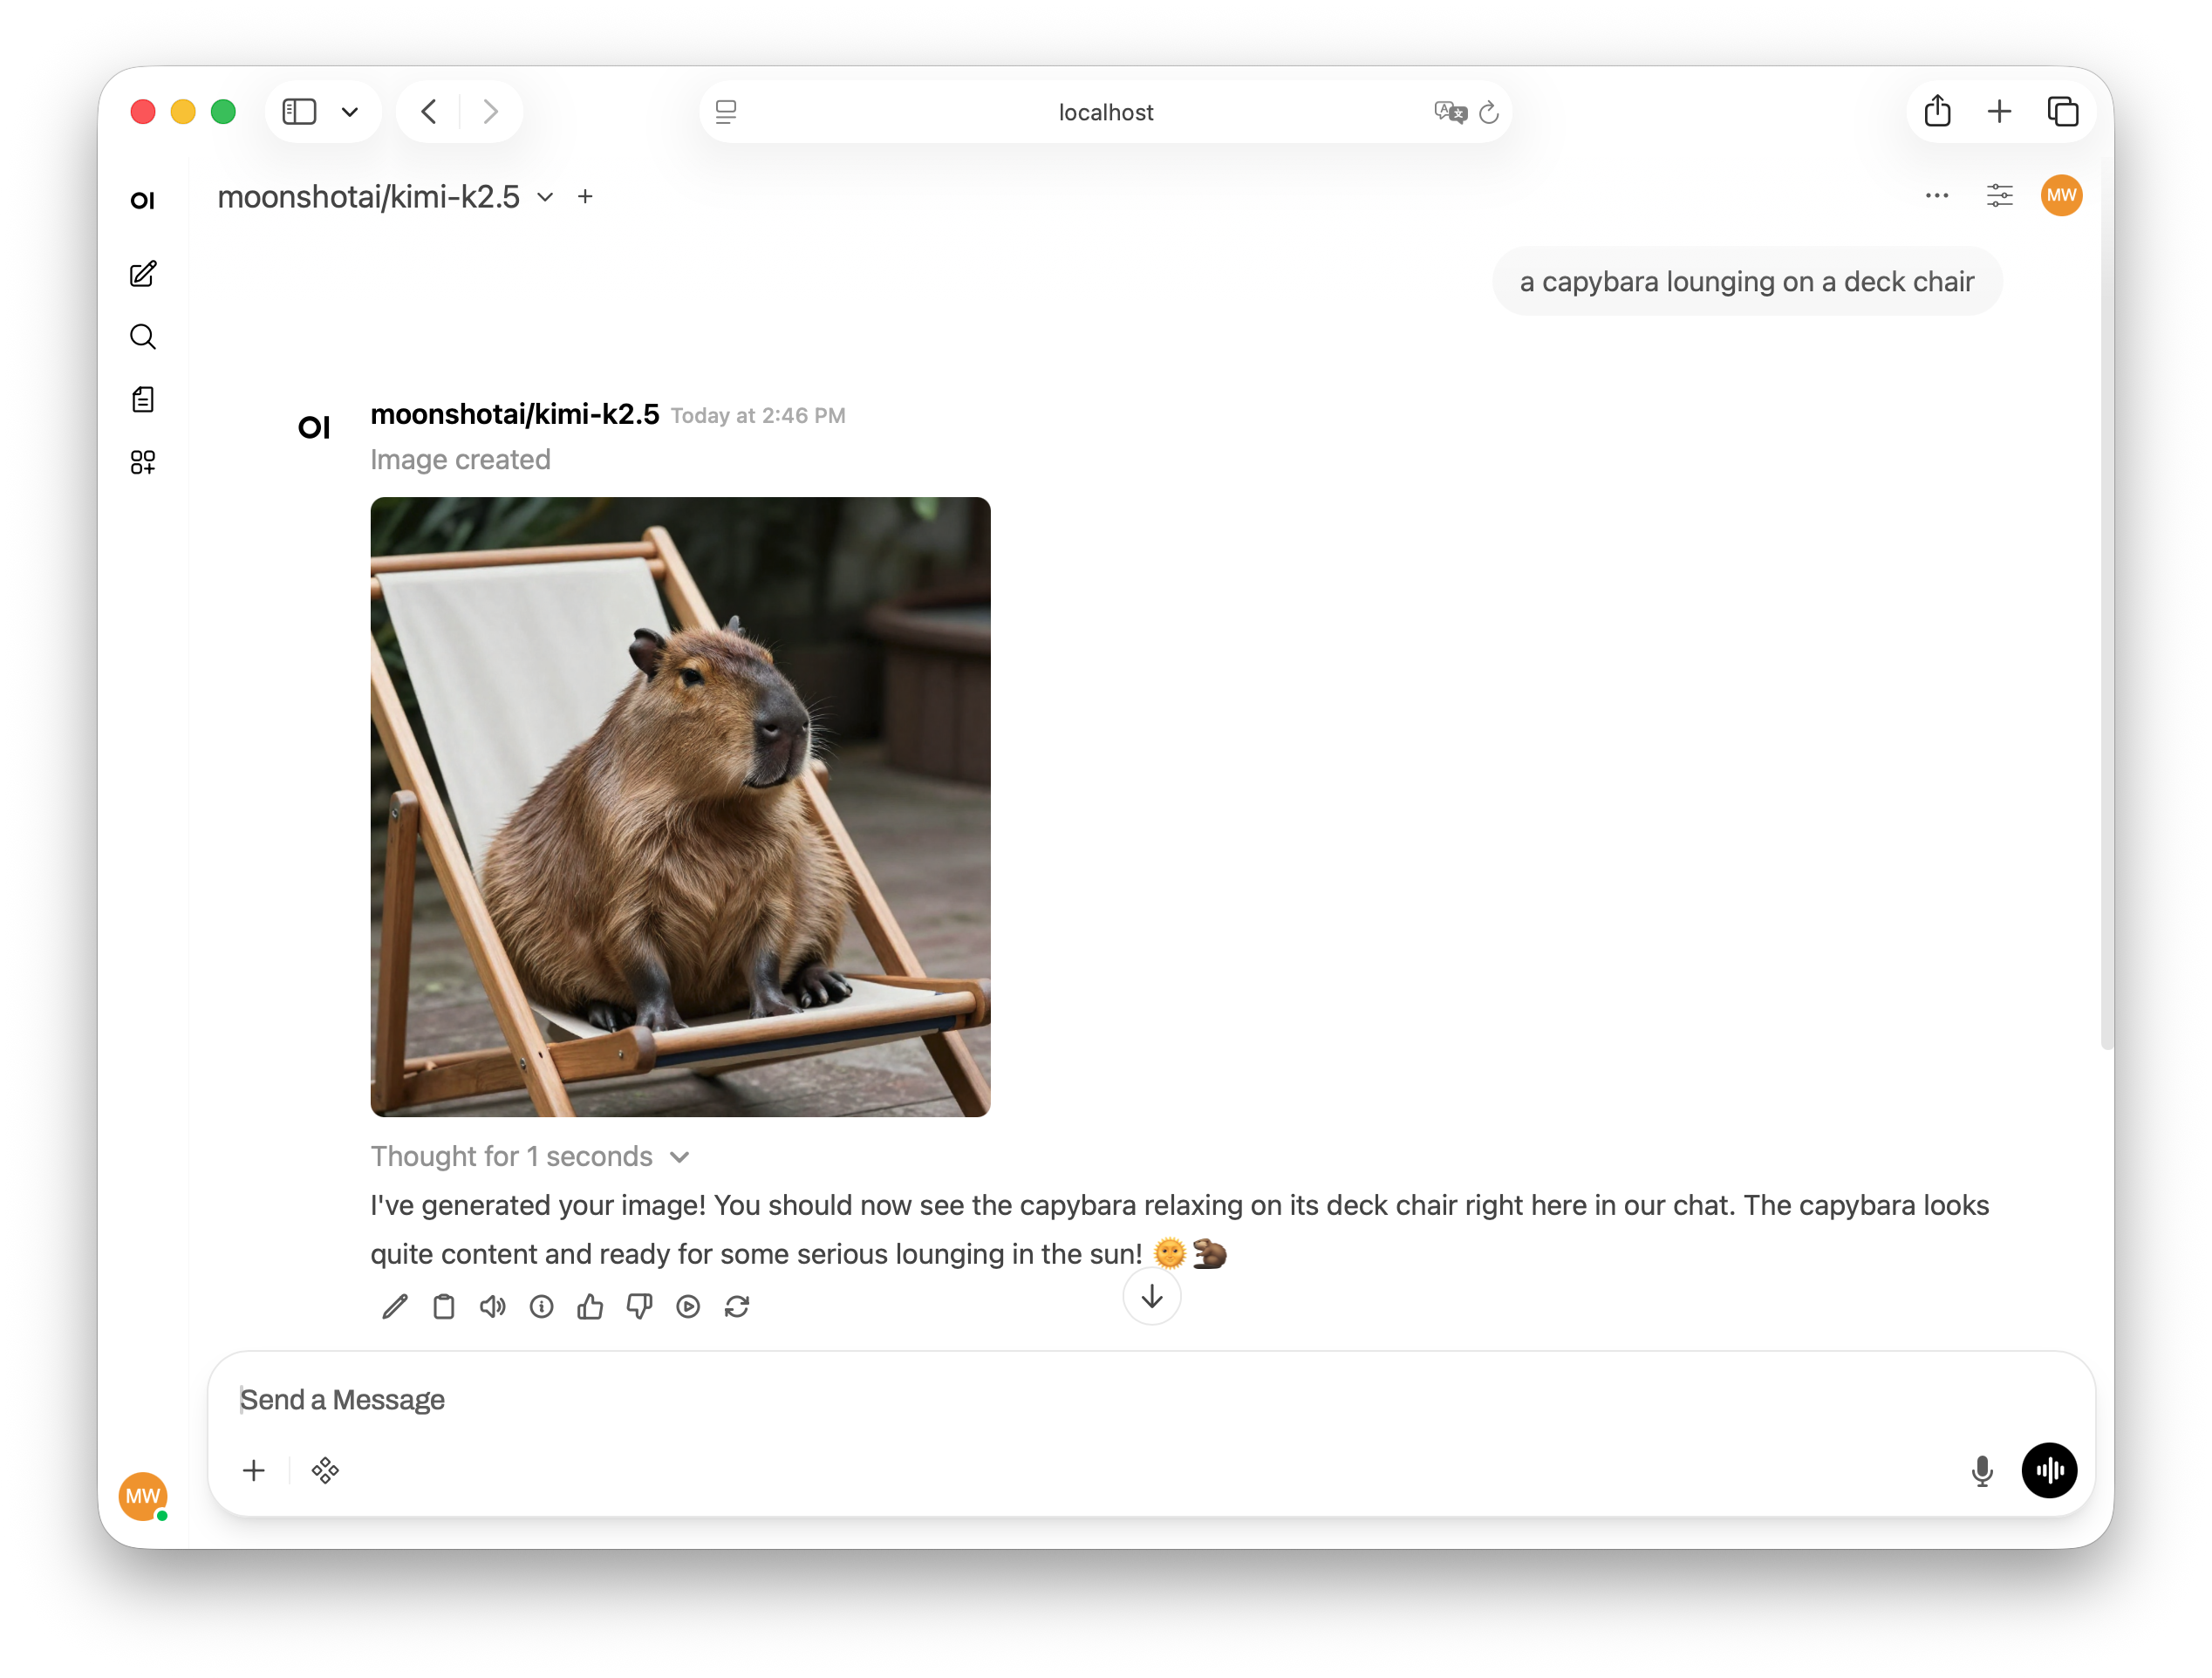
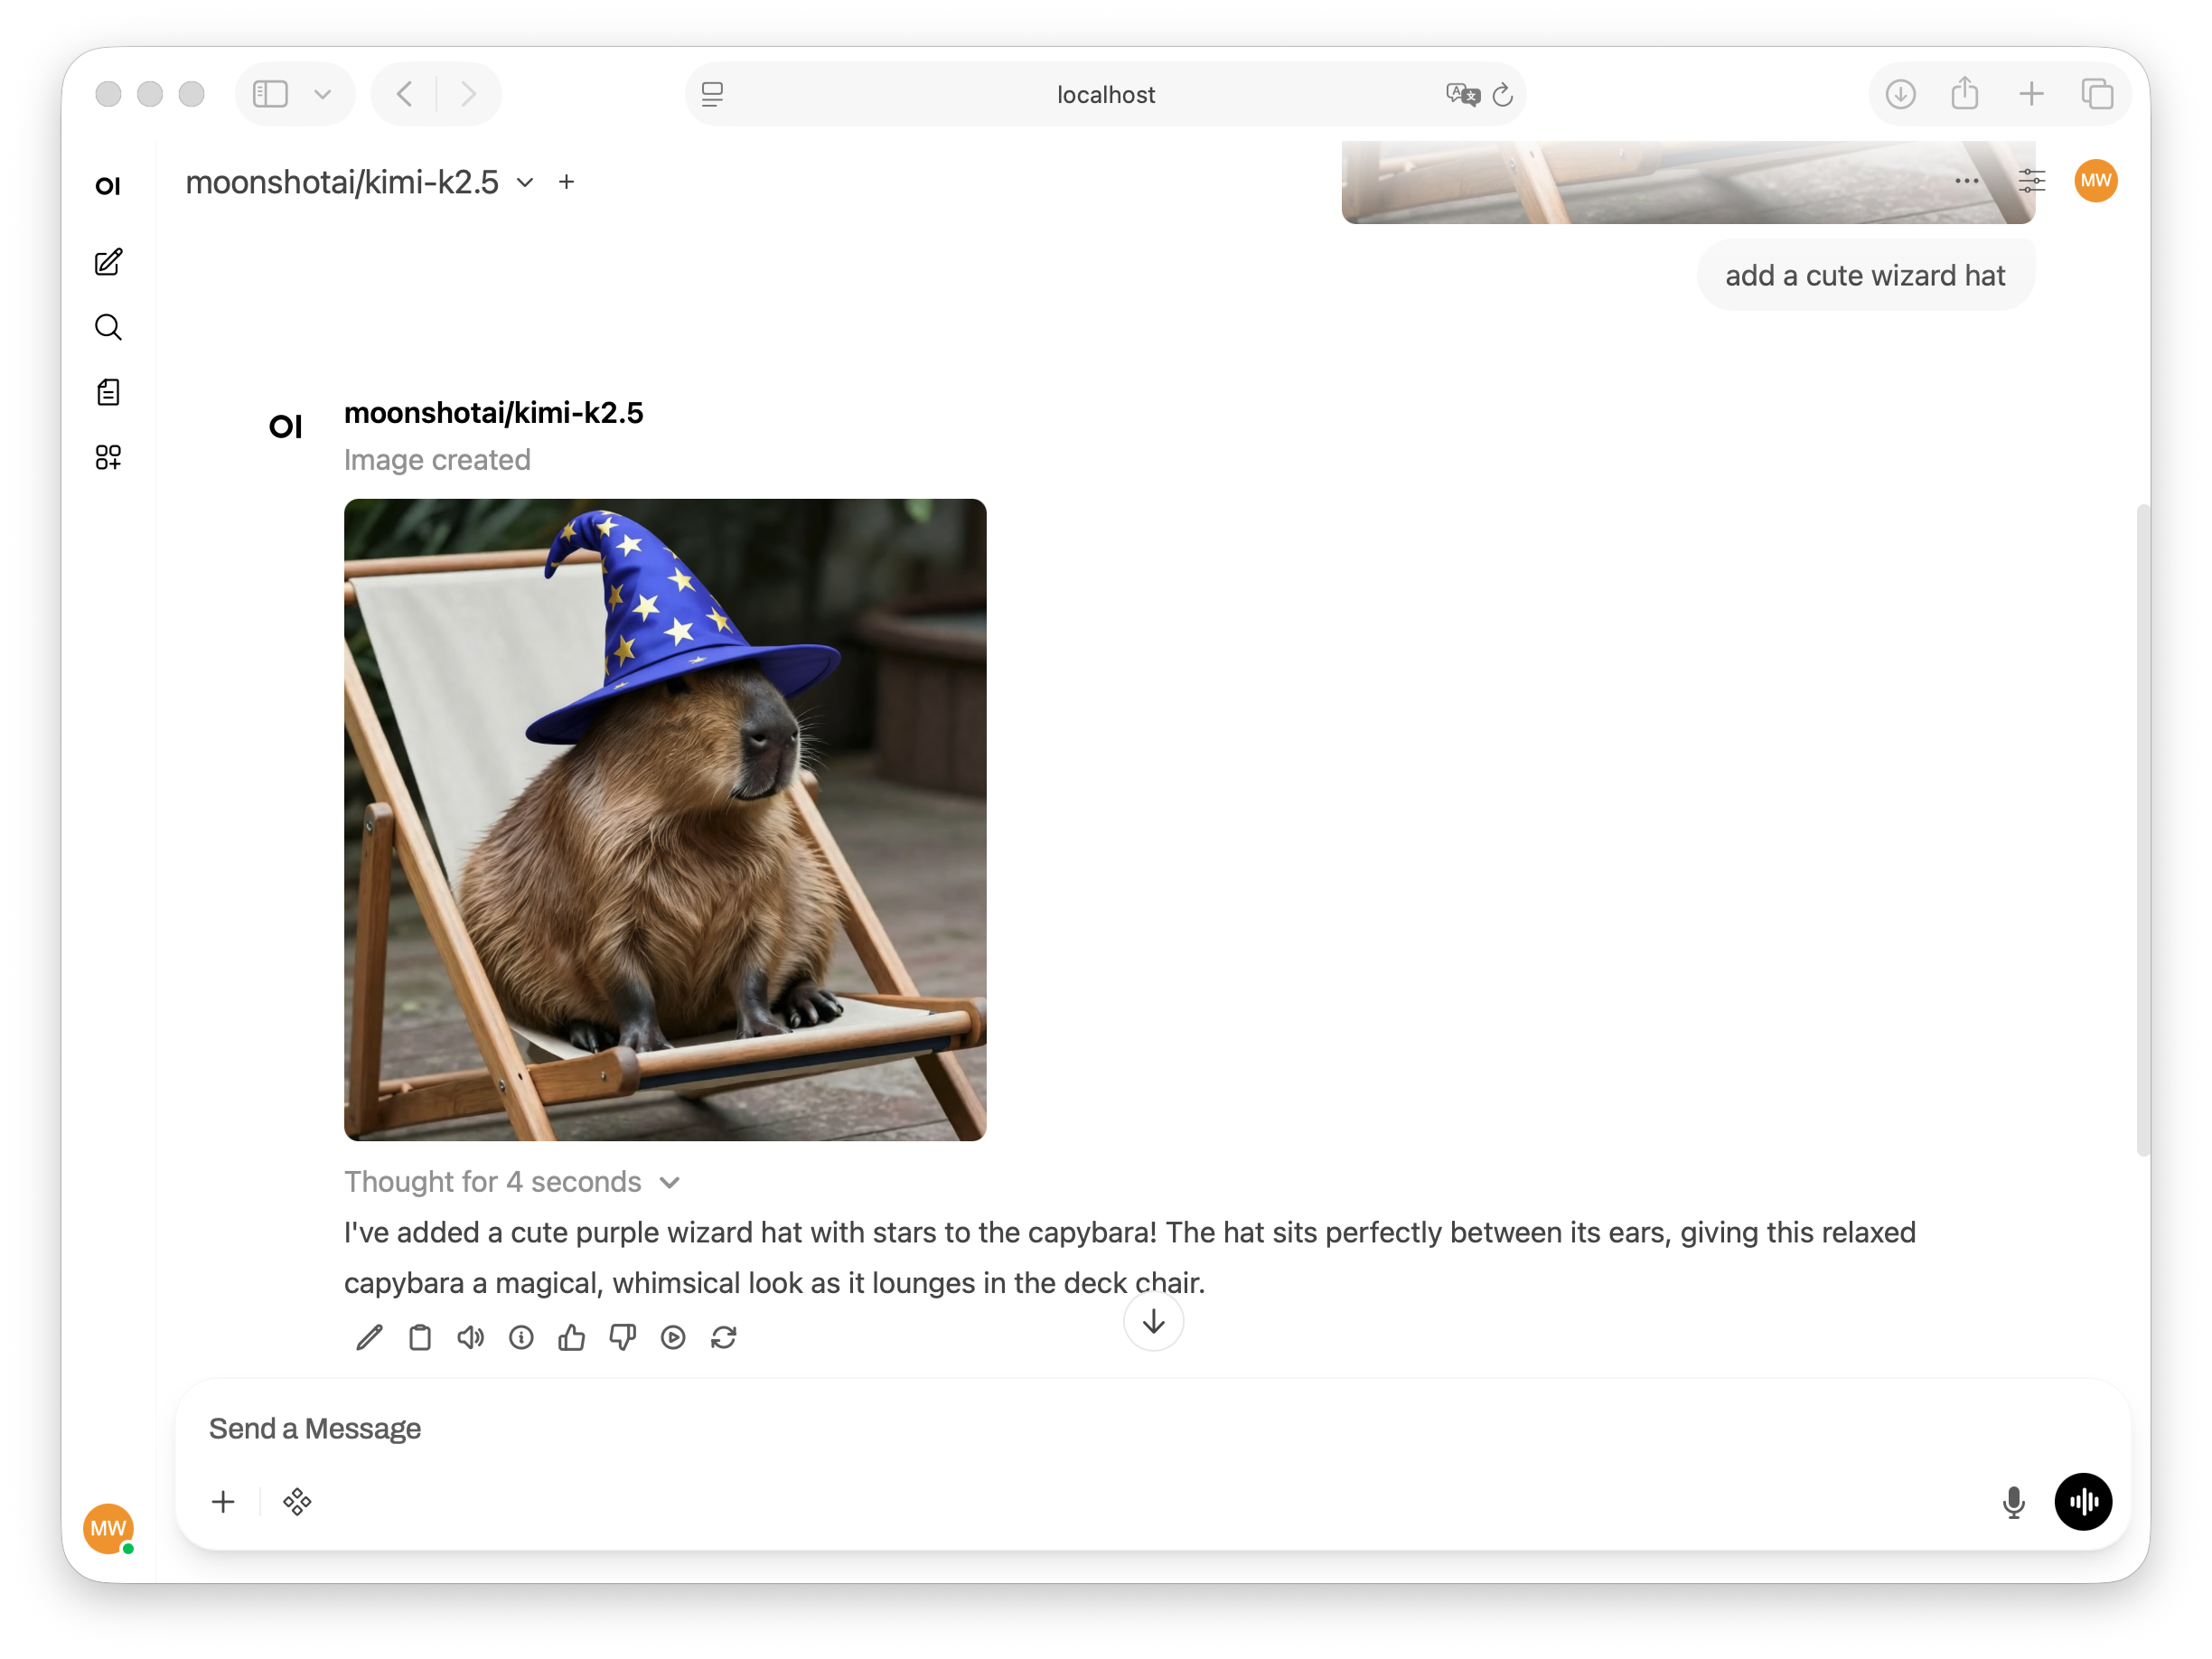
Image editing
Open WebUI also supports image editing. To use Lumenfall for image editing:- In the same Admin Panel > Settings > Images page, scroll to the Edit Image section
- Toggle Image Edit to on
- Set the Image Edit Engine to Default (Open AI)
- Enter the same API base URL:
https://api.lumenfall.ai/openai/v1 - Enter your Lumenfall API key
- Choose a model that supports editing (e.g.
gpt-image-1.5) - Click Save
Environment variables
You can also configure Lumenfall as the image generation backend using environment variables when deploying Open WebUI:Next steps
Available models
Explore all available image generation models.
API Reference
Explore the full API documentation.